
First attempt at transfers and I was NERVOUS😬😬😬
I got this piece back in the summer and had been holding off on flipping it until I had a plan. As I continued my quest to create more unique pieces that get my creative juices flowing, I was reminded of the world of furniture transfers and thought, well obviously I gotta try these out! Cut to last week when I found a beautiful, and giant, motif transfer and finally had a vision for this table. I just hoped I wouldn’t screw it up or ruin the transfer… why walk when you can run right?…
-

Before...
-

After Sanding...
-

After Staining
Applying the transfer
This transfer was 24” x 35” and completely symmetrical from the center out. Since my table was 24” x 24”, I wanted to make sure this motif was centered on the tabletop. to do this, I put a piece of tape at the 12” mark on either end of the table. Next, I ran a thin piece of tape down the center of the transfer and lined it up with my tape on the table. Before removing the backing from the transfer, I secured the edge of my transfer paper to my table to prevent it from shifting during the application process
To apply the transfer, I removed the backing, laid the transfer paper onto the table, and rubbed over the motif using a putty knife. I then lifted the transfer paper a very small amount to see if the motif had adhered to the tabletop. Anytime some of the motif was still stuck to the transfer paper, I simply laid it back down and went over it again with my putty knife. Think of it like applying a temporary tattoo, just bigger and with a putty knife instead of water 😂 you can buy transfer tools but my putty knife worked just fine for me.
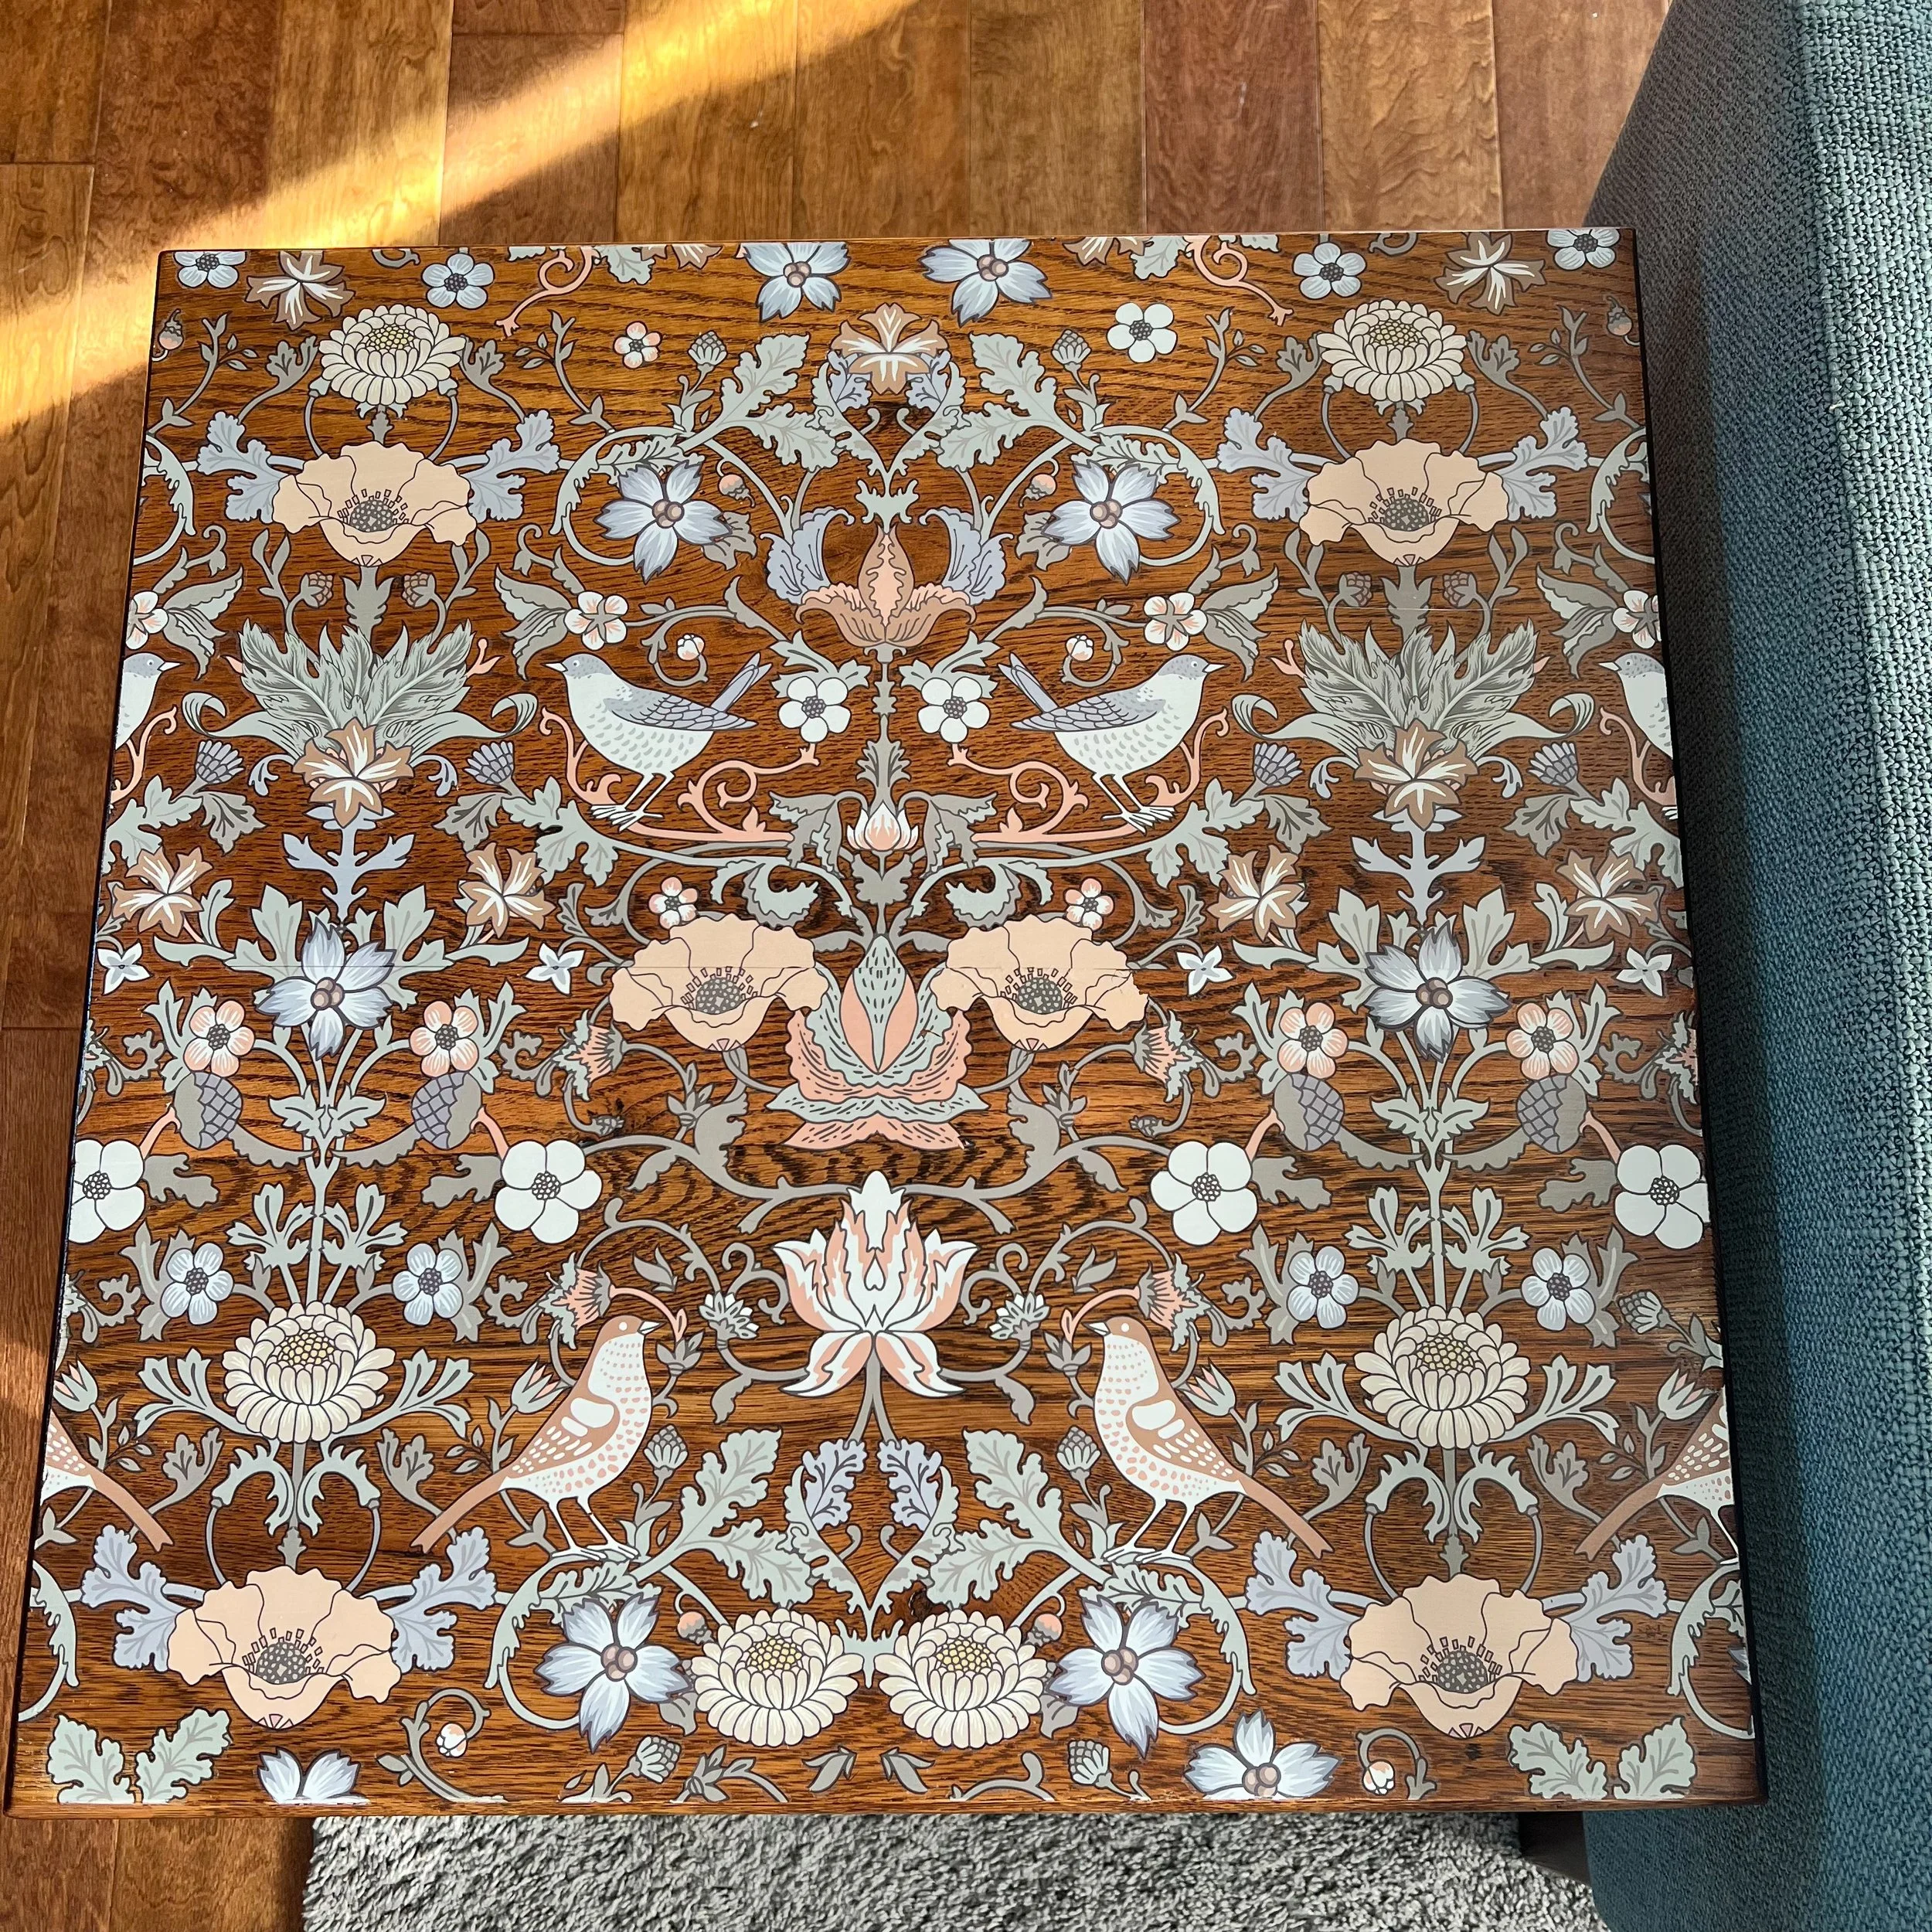
I didn’t screw it up!!!🙌🏻
After applying the main transfer, I realized it went all the way to the edges on the sides of the table but not the top and bottom. So, I cut up the two 5 1/2” strips of motif that were left over from the sides and used the flowers and greenery to fill in the areas at the top and bottom. Lastly, I sealed the transfer to the table top by applying two coats of my usual water-based polyurethane with a synthetic brush.


Linked Supplies
Orbital sander
Sanding discs - I tried these for the first time on this table because I’ve been having trouble with my usual sanding discs staying put on my sander and these guys did not disappoint. Highly recommend
Tack cloth - I always wipe my pieces down with one of these before staining. It gets all the little bits of dust and grit left over after sanding. Wiping down with a cloth or paper towel will just move the particles around. This cloth gets it all.
Stain:
Chip brush - I use these cheap brushes throughout my furniture flipping process including for pre stain and staining
Pre-stain/wood conditioner - always use this before staining. Read that again. It makes a huge difference.
Stain - I used the color Aged Bourbon by Zar
Transfer and Top Coat:
Transfer motif
Painter’s tape
Putty knife
Top coat brush
Top Coat - Varathane Clear Satin Water-Based Interior Polyurethane