
First Time Using Cane Webbing
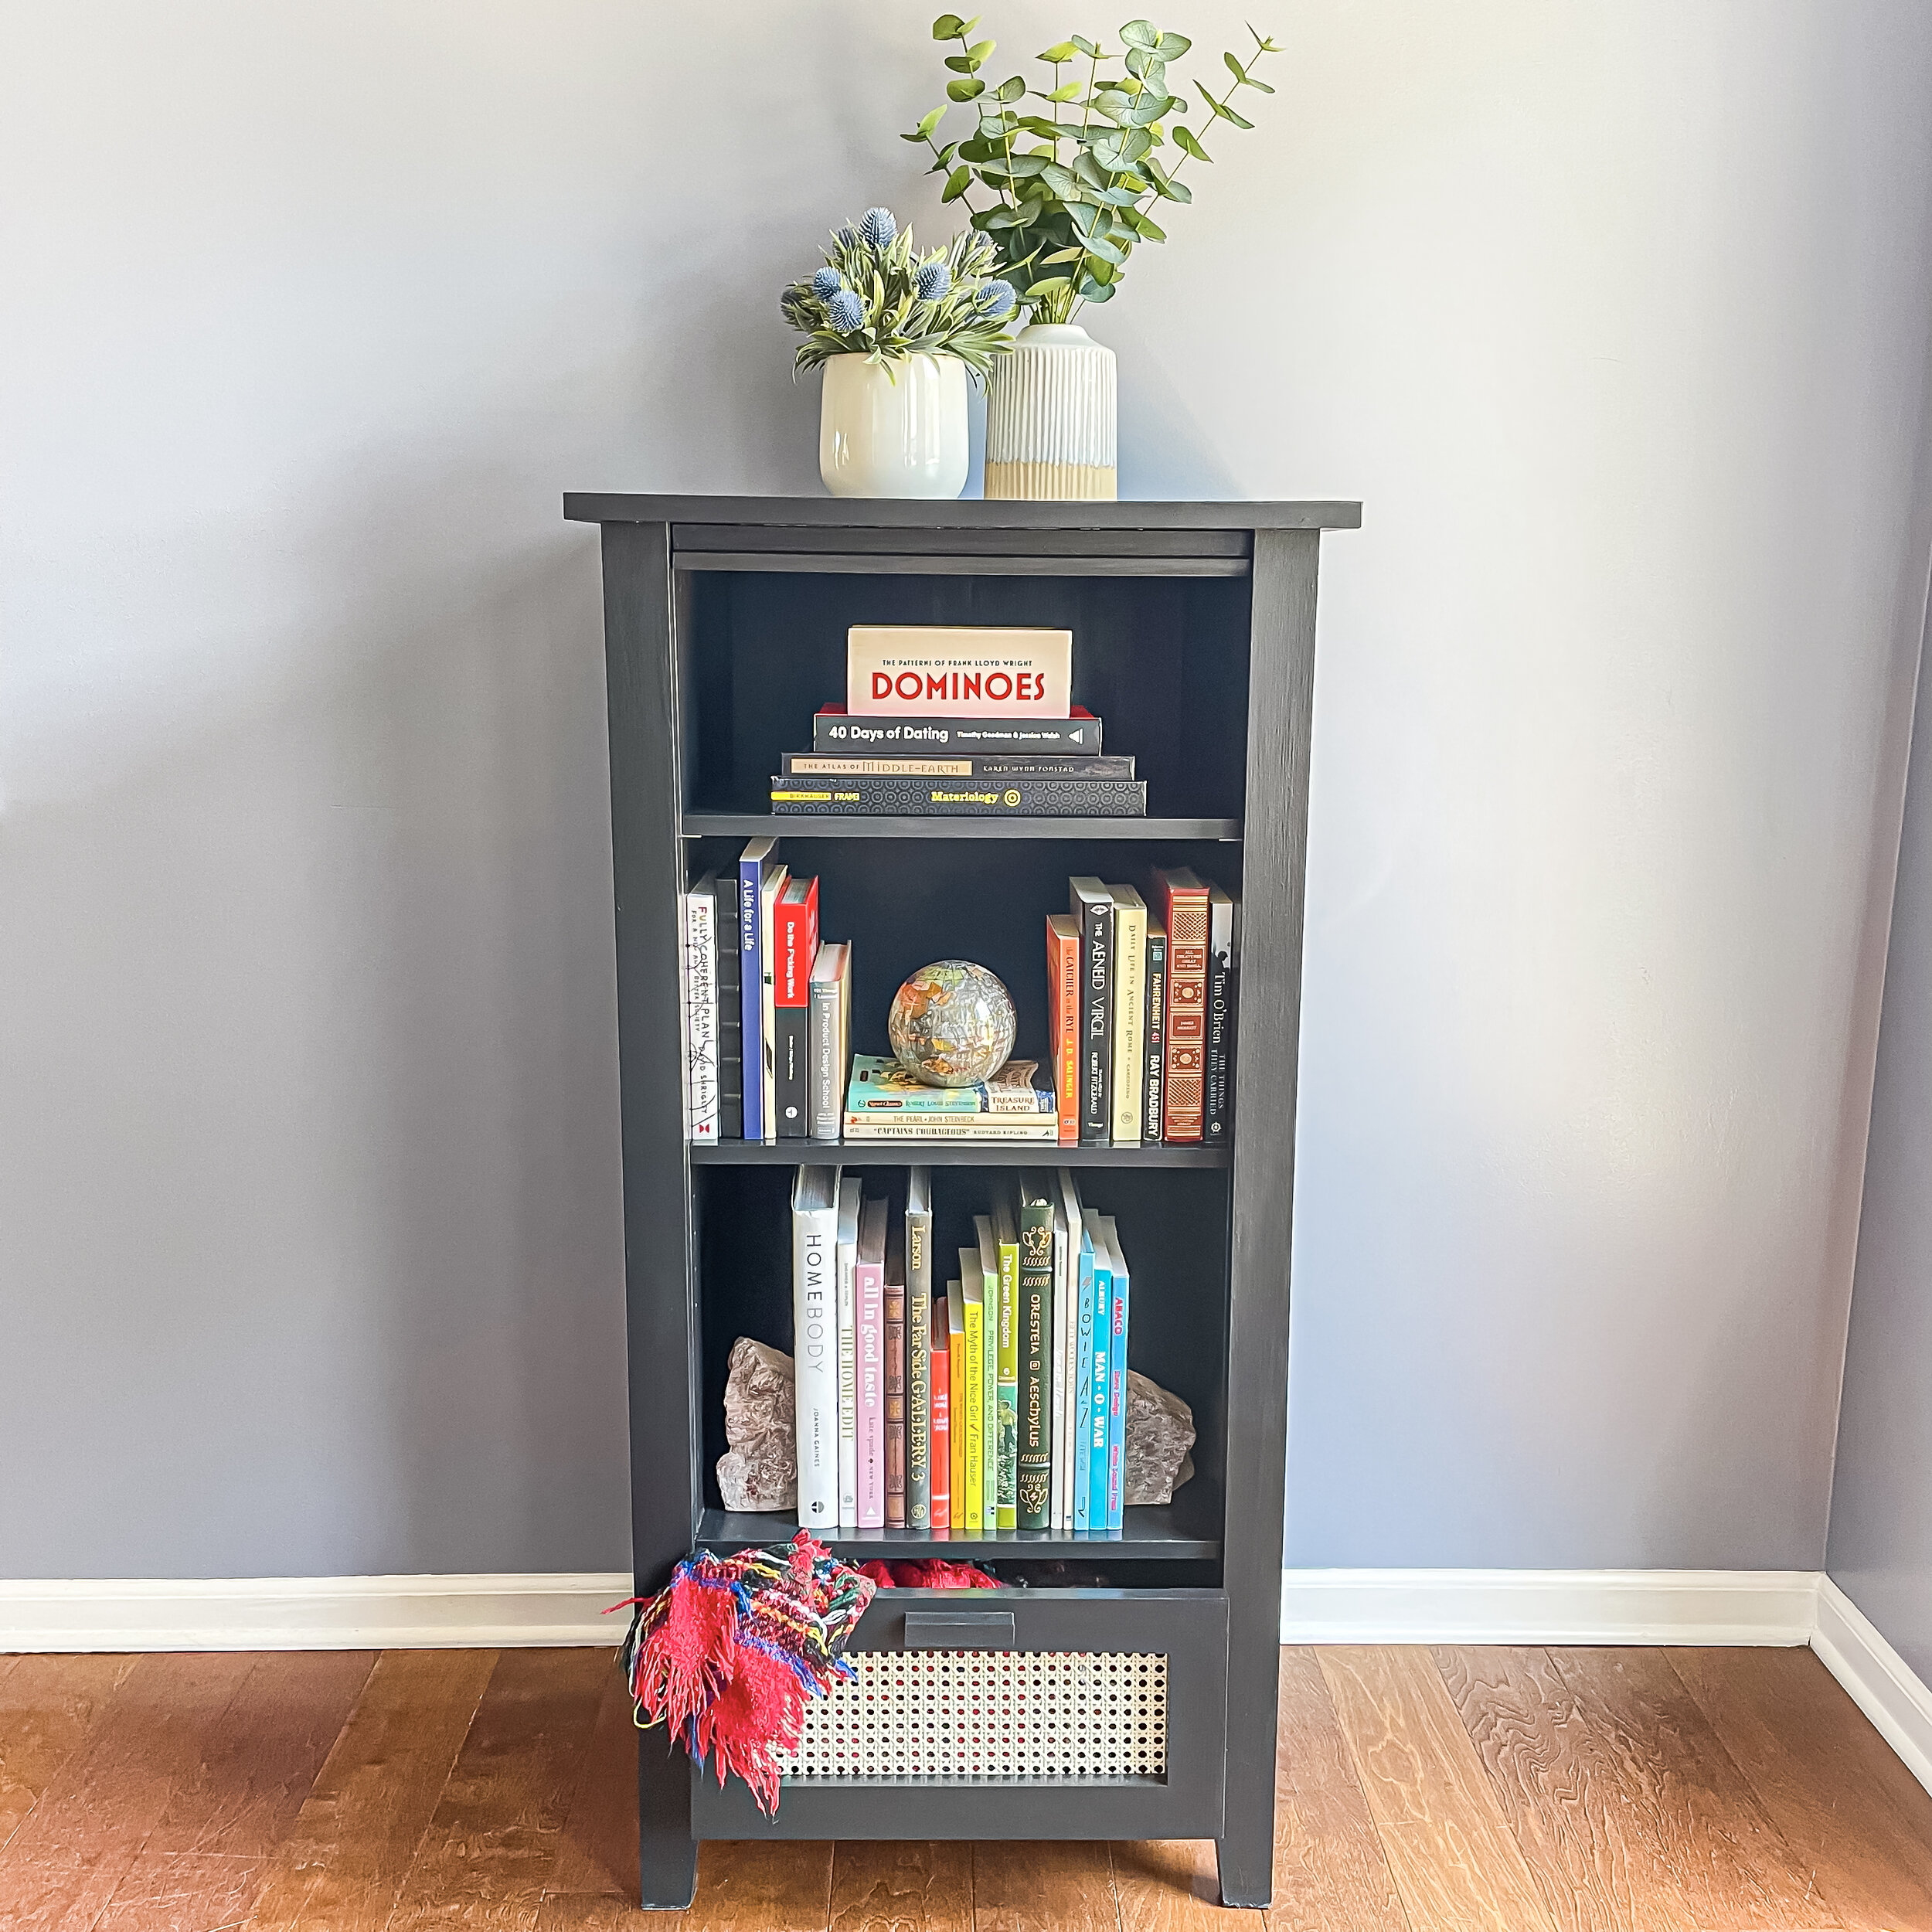
A couple years back a family friend of ours was moving into their new home and was getting rid of a bunch of their old furniture. They gave us this bookshelf for free and since then it’s been living in Alex’s office. Recently though, Alex decided he wanted me to make him a new, more consistent set of shelves than the mismatched five bookshelves he has- stay tuned for that!😎 In the meantime, I decided to take this opportunity and use one of the bookshelves as a good test to try using cane webbing for the first time! I built a new shaker drawer front with a hollow center for the cane webbing, and the rest is history!


Linked Supplies
Cane Webbing: I bought 1/2” Cane Webbing that was 18” long but it is offered in plenty of other sizes. this link is for 14” long pieces. I have found, if you choose the circular style webbing like I have on this piece, that the 1/2” size is generally the size to go with though.. DON”T BUY A KIT! unless you are using it to fill a in a chair seat or back. You will pay 2-3 times the price and you are not buying it for that, all you need is the webbing.
Staple gun: use this to secure the cane webbing to the inside of your piece. ***make sure you use staples shorter than the thickness of your wood or they will poke through!
Paint Brushes: I am partial to Purdy. They are very affordable and great quality. most of my brushes are 2 inches wide, but I always have at least one of each of these on hand:
- Long handle brush with angled edge - the only brush you should ever use for edge (painting wall paint along trim or the ceiling’s edge) it makes painting these spots SO MUCH EASIER. the long handle is key for having control.
- Short brush - you need this when you are painting in tighter spaces like shelves. a long handle is going to get in your way and you are going to have to work around it a lot. short brushes like this are what you’ll want
- Top Coat Brush - you definitely want a separate brush that you only use for poly coating. this prevents you from getting any paint in your poly, or poly in your paint…. you also want to make sure the brush you use for poly is made of synthetic bristles so it holds up. I’ve had the same one for months now, used it on numerous flips and DIYs, and the bristles are as if I bought it yesterday.
Paint Color: Tricorn Black by Sherwin Williams, 1 Quart- Sherwin Williams Showcase- Satin Finish
Always add BB Frösch to your paint! It makes a HUGE difference.
Top Coat: Varathane Clear Satin Water-Based Interior Polyurethane